Stainless Steel Screen Printing Mesh
Compare stainless steel screen printing mesh for fine lines, paste deposit, or replacement. Send your mesh datasheet or print requirements for a quote.
View SpecificationsStainless Steel Screen Printing Mesh Specifications
Stainless steel screen printing mesh is woven wire cloth that supports a stencil and allows ink or paste to pass through the open image areas. Select the inquiry row that matches your job and add the actual values from your drawing or datasheet.
State wires per inch or per centimeter, the weave, and any differences between warp and weft.
Give the nominal diameter in µm and any tolerance required for acceptance.
Specify aperture in µm and open area as a percentage of the mesh surface.
State finished mesh thickness in µm and whether the mesh is calendered.
State target tension in N/cm, when to measure it, and the allowable variation across the screen.
Select one or more specifications. Your choices will be included in the quote request.
0 specs selected
| Inquiry goal | What to send | What to compare | |
|---|---|---|---|
| Match an existing mesh | Current mesh code or datasheet, grade, weave, dimensions and required tolerances. | Wire diameter, clear opening, open area, thickness and finish. | |
| Evaluate fine-line printing | Substrate, smallest line and gap, ink or paste, and registration tolerance. | Wire diameter and opening relative to the artwork, with a trial on the intended press. | |
| Evaluate ink or paste deposit | Ink or paste, target film thickness, wet or dry measurement basis, and current stencil setup. | Mesh thickness and open area alongside the stencil and process settings. |
Mesh Construction and Finish
Use the current screen specification to identify which stainless steel screen printing mesh construction to request.
Plain weave
For a square opening, compare count, wire diameter and opening together. Record the stainless grade when the drawing fixes it.
High tensile wire
Ask for wire strength data and a recommended tension range if your process depends on maintaining registration across a print run.
Calendered mesh
Calendering can reduce mesh thickness. Request the finished thickness and opening for the calendered condition.
Choose by Opening, Artwork and Paste
Start with a proven screen if you have one. For a new job, give the screen maker the artwork and the target print result.
Compare two wires at the same count
At a nominal 250 wires per inch, the pitch is 25,400 ÷ 250 = 101.6 µm. For an ideal square plain weave, subtract the wire diameter from the pitch. A 30 µm wire gives a 71.6 µm opening and about 49.7% open area. A 40 µm wire gives a 61.6 µm opening and about 36.8% open area. Use these calculated values to compare geometry and request measured values for acceptance.
Choose a mesh to trial for a 75 µm line
In a published example from MCI Precision Screens, two 325-mesh screens have 24 µm wire at 47% open area and 30 µm wire at 39% open area. If both meet your tension and paste requirements, try the 24 µm wire first for this line size because it obstructs less of the image opening. On the trial print, measure line width and look for breaks and irregular edges. Ask for separate confirmation of available mesh specifications.
Estimate theoretical ink volume before trialing
Using BOPP's mesh geometry calculation, multiply the open-area fraction by mesh thickness in µm to get theoretical ink volume in cm³/m². At 40% open area, a 40 µm mesh gives 16 cm³/m² and a 55 µm mesh gives 22 cm³/m². Use those estimates to compare the hypothetical meshes. Measure actual film thickness at the agreed stage: wet, dry, or after firing.
Plan a trial on the intended press
Use the intended substrate, paste or ink and stencil. Agree what to measure on the print, such as line width, registration or film thickness, before approving a sample.
Checks to Agree Before Ordering
Put tolerances and inspection requirements on the drawing or inquiry so each quotation uses the same acceptance criteria.
Opening consistency
Agree where to check openings and how many measurements are required across the usable width.
Surface condition
Define limits for creases, broken wires and contamination in the usable area.
Sample and lot records
Ask which dimensional records, grade documents and lot markings can accompany the sample or shipment.
Where Stainless Steel Screen Printing Mesh Is Used
The artwork, ink or paste, and substrate determine which mesh geometry to evaluate.
Printed electronics
For conductive traces or functional layers, include minimum line and gap, alignment tolerance and target deposit thickness.
Glass and ceramic printing
Provide the substrate, ink or paste and target coverage or film thickness for the layer being printed.
Replacement mesh
Send the previous specification and describe any changes to the artwork, paste or press before assessing a substitute.
What to Check When the Print Changes
Record the defect and the current setup. Change one variable at a time during the next trial so you can compare the prints.
Fine lines break up
Record the narrowest affected line and where it breaks. Compare wire diameter and clear opening with the artwork, then check whether paste passes through the mesh or collects in the openings. Note the paste type and whether the defect appears immediately or develops during the run.
Registration drifts during a print run
Record when the shift starts, its direction and the offset at the same registration marks. Measure screen tension at the same points before and after the run. Then inspect frame movement and press or fixture alignment.
The paste deposit is too thin or thick
Record actual film thickness, where it was measured and whether the film was wet, dry or fired. Compare mesh thickness and open area first, then review emulsion thickness, paste condition and squeegee settings.
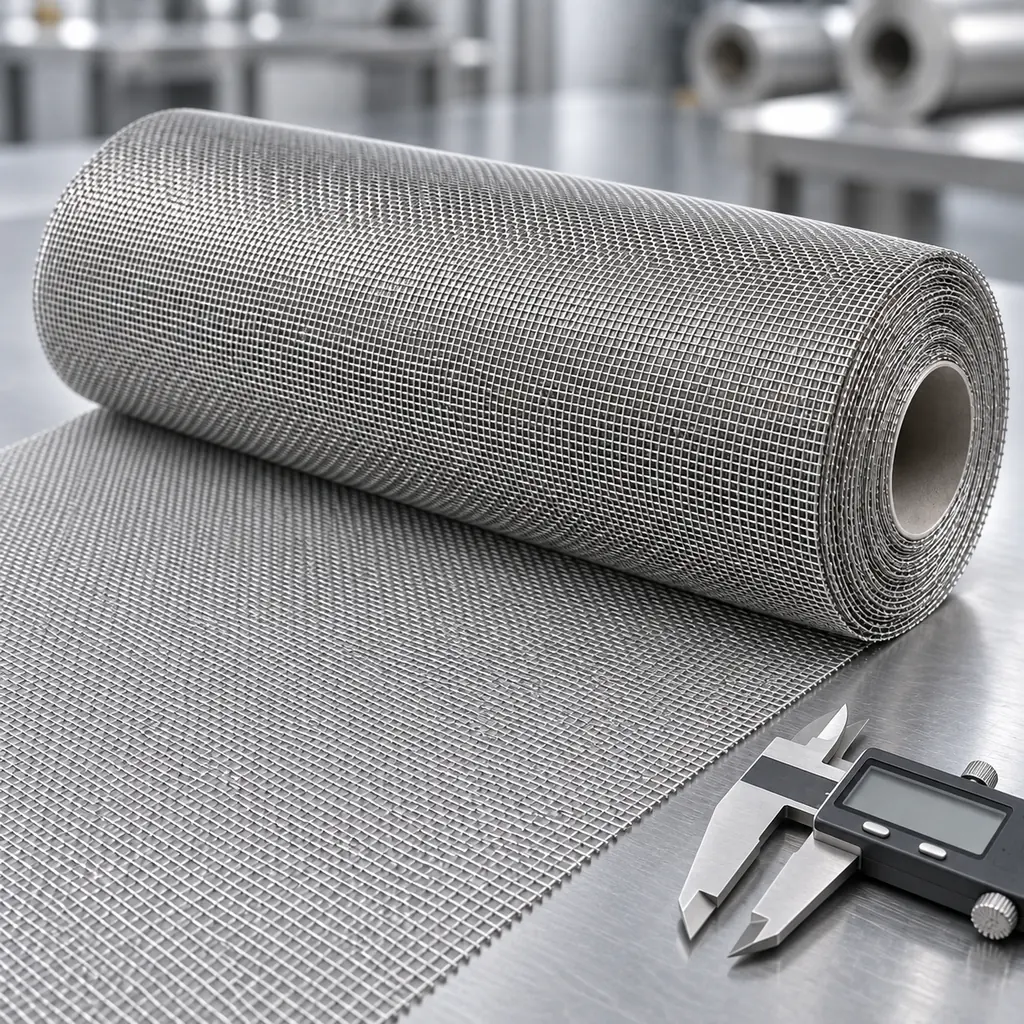
Plain-weave stainless steel wire cloth in roll form. Use the approved datasheet for the print mesh dimensions.
Check the Mesh Before Production
Check the sample against the drawing
Compare the sample's identification, wire diameter, opening and thickness with the agreed requirements.
Verify the screen after stretching
Have your screen maker check tension at the agreed locations and stage. Run a trial against the print acceptance criteria.
Inspect the delivery
Match the roll labels and documents to the order. Check edges and usable surface for dents, creases or broken wires.
Specify Protection for the Mesh Roll
Include handling and labeling requirements with the stainless steel screen printing mesh inquiry.
Protect the edges and roll surface
Agree how the roll will be wrapped and supported to limit crushing, creasing and contamination in transit.
Identify each roll
State the required label fields, such as mesh code, width, length and lot reference.
Replacing a Mesh With an Unknown Wire Diameter
If the old roll label gives only the mesh count, include the label and any remaining sample when asking for a match.
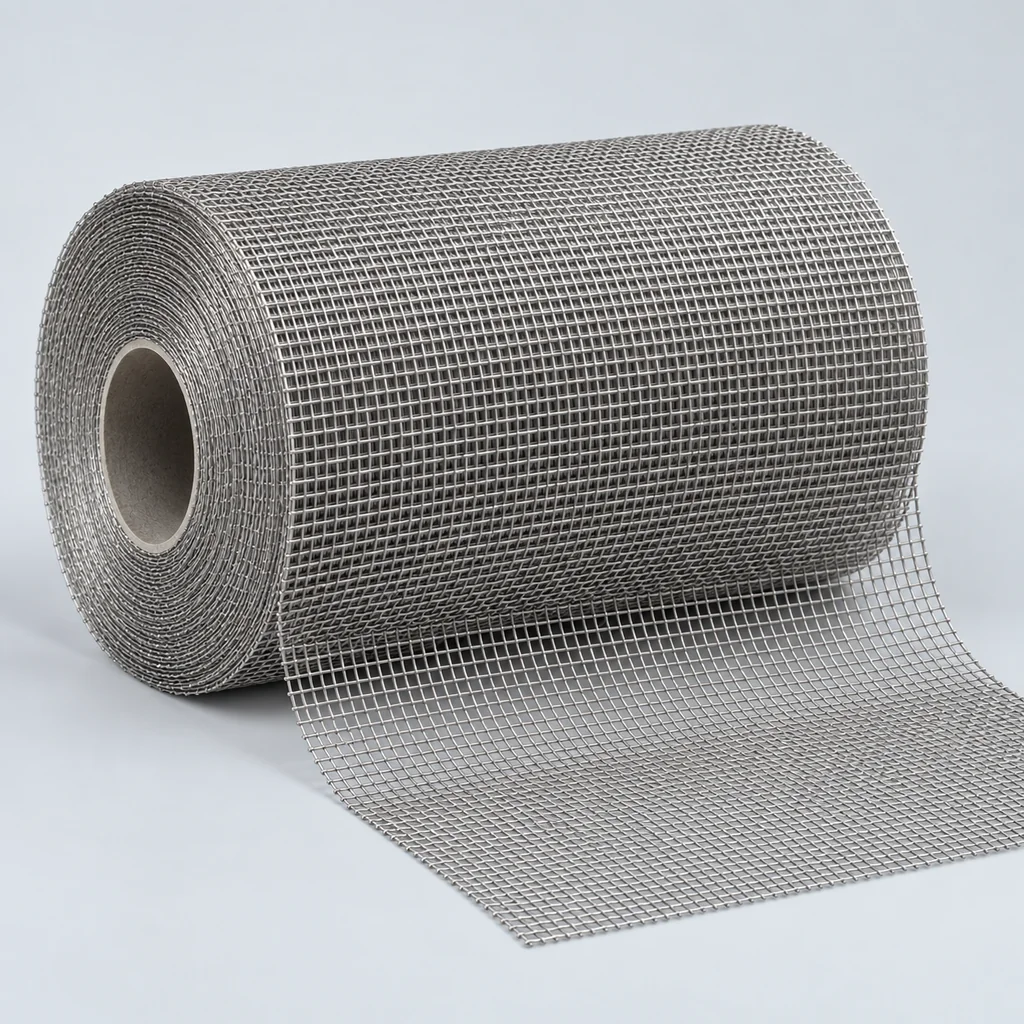
Match the geometry before approving a trial
Ask your screen maker to measure the original wire diameter and clear opening. Add the ink or paste and the print features that must stay within tolerance to your inquiry.
Replacement Mesh Comparison Worksheet
Copy this table into an email or spreadsheet. Enter the existing and candidate specifications or trial results, then add the project limits before sending your inquiry. If the roll label only gives the mesh count, include a photo of the label and identify which values still need to be measured.
| Parameter | Current Mesh | Candidate Mesh | Acceptance Criteria |
|---|---|---|---|
| Mesh count and unit | State wires per inch or per centimeter and the approved count. | ||
| Wire diameter (µm) | State nominal diameter and tolerance. | ||
| Clear opening (µm) | State the acceptable range and where to measure it. | ||
| Open area (%) | Record the target and whether the value is calculated or measured. | ||
| Mesh thickness (µm) | State the acceptable range and the measurement condition. | ||
| Calendering | Record whether calendering is required and confirm the finished mesh thickness. | ||
| Trial line width (µm) | State the target, tolerance and print features to inspect. | ||
| Registration deviation | Set the maximum offset, units and reference marks. | ||
| Film thickness (µm) | State the target, tolerance and measurement stage: wet, dry, or fired. |
Screen Printing Mesh References
Related Mesh Guides
Screen Printing Technical References
Stainless Steel Screen Printing Mesh FAQ
Request a Stainless Steel Screen Printing Mesh Quote
Share your mesh code or drawing, intended print result and required roll or screen dimensions. Include quantity and any sample or inspection requirements so the quote addresses the specification you need to approve.